Tips for setting your beat grids in Rekordbox
Setting your beat grid in Rekordbox can be tedious, frustrating and extremely time consuming!
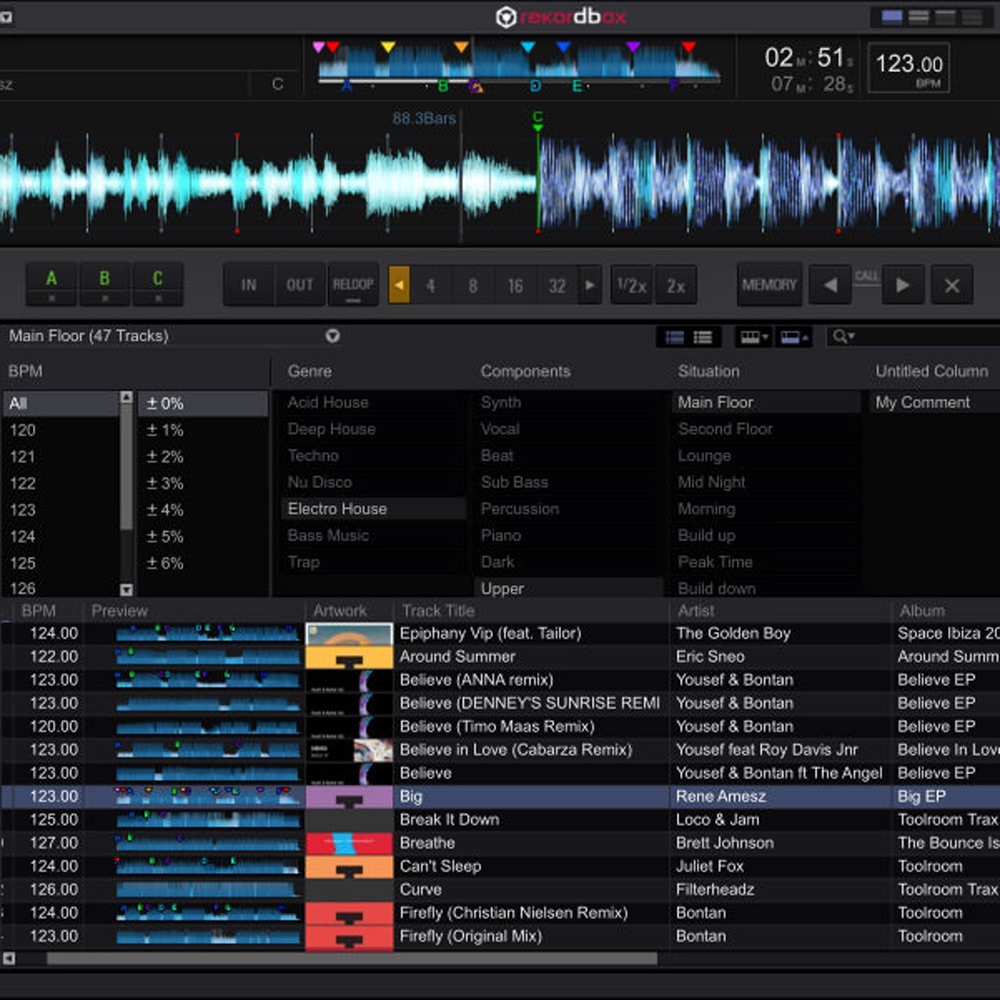
Setting your beat grids in Rekordbox is essential! Without your beat grids being set accurately the BPM for your tracks may be being displayed incorrectly making beat matching much harder, you may be bringing in loops that cut off half way through short transients in your waveform such as snares and kick drums sometimes creating a pop or just sounding 'awkward' and setting cue's and hot cues becomes a further laborious task.
The setting inside your CDJ's and Rekordbox that works closest to the beat grid is Quantize. If you are using Quantize to keep everything in sync (Cues, Loops etc) but your beat grids are incorrect Quantize wont appear to be doing its job correctly. Quantize does not relate to the audio just the beat grid!
Here are some top tips from one of our DJ tutor's Noah
Don't rely on the Rekordbox auto grid!
When you open a track inside Rekordbox it will automatically attempt to set a beat grid by recognising the peaks in the audio. With most House/Techno/Electro the beat grid will be spot on 95% of the time! This is because its a common feature within these genres to have a straight hit on each beat of the bar, often a kick drum, meaning the peaks in the waveform are very obvious. When it comes to Hip-Hop, Drum & Bass or Dubstep you will find you will need to put in a lot more work because of having predominantly swung rhythms and off beat patterns. I also find tracks that are heavily vocal tend to confuse the software a little!
Save a cue point at the beginning of each track
Once you do this the cue symbol will show up in your Rekordbox playlist and you will be able to see the small red marker on the preview wave form. By doing this you will be able to see clearly which tracks you have checked the beat grid on saving you time when creating a new playlist.
Match your BPM's when recognising half time
D&B heads will relate to this one a lot! You will often find tracks are recognised at half their BPM, for example a track that is actually at 174 will show up as being 87. It's your choice whether you go for the half time or the full BPM but keeping all your tracks within one region will save you time (especially if your maths isn't top!) and when sorting your tracks by BPM they will all be in order correctly. You can simply double or half the BPM by clicking on the X2 or /2 buttons within the grid menu.
Use the tap
The tap function is often overlooked! If you are looking at your grid, it's completely off and you simply can see how it relates to the wave form click on the TAP button in time with the track as its playing. Your grid will then be set in relation to the tempo you tap along at and while it will rarely be perfect from doing this it should make things easier to decipher. One you have tapped in your tempo be sure to check your grid all the way through and make sure its perfect!
Don't let your workload mount up
As you get hold of new tracks you intend to use for DJ'ing its a great idea to get them straight in Rekordbox, check/set the grid and save your cue. Leaving them to mount up until just before a gig will create a last minuet rush and a long time spent sifting through your new tunes.
Not everything will grid
Live recordings, tracks by bands or using live musicians and vinyl rips will often be un-griddable. This being because the beats are not ridged in the same way your standard house track using a drum machine will be. You will find tracks from bands/live musicians that have been studio polished and programmed to be solid, especially with newer music, but if they are not it isn't the be all and end all for being able to use that track within a mix. You could time stretch your audio in Ableton or similar so that the track become ridged and each hit is perfectly in time on the beat, however this can be quite time consuming and sometimes leave the track sounding odd! Another way of using the track within a mix is to find a loop of 4 or maybe 8 bars that perfectly hold tempo, make sure the grid sits perfectly over this section and save a looped cue point so you can find the perfect part each time you use it.
Be confident using the software and thorough when preparing your sets
Don't give up quickly when starting out setting your grids. Once you have done the first handful it will quickly become a smooth and effortless task. Some people can align incorrect grids in seconds! It's nothing but practice and perseverance. Always be thorough when preparing your sets, you don't want any nasty surprises when you go to bring in a track that is displaying 120 but is actually moving at 135! If you're performing live something like this cropping up could really throw you and knock your confidence.
If you are really struggling with your beat grids send us an email to hello@londonsoundacademy.com or head to our contact page here and get yourself booked in to a session with one of our top DJ tutors. All of our tutors will be able to have things making perfect sense and you using the software with confidence in no time!